
For several years now, there has been promotion of a healthy lifestyle and diet. Products that we had never heard of before began to gain popularity, such as chia seeds, flax seeds, syrup of Jerusalem artichoke and microgreens also belong to these products.
What is it?
Microgreens are tender young shoots of various plants, collected at the stage when they are just beginning to sprout, usually ranging in height from a few centimeters to several tens of centimeters. These small green plants are not only tasty and decorative for dishes, but also a valuable source of nutrients. Let’s take a closer look at the benefits of microgreens.
Nutrient richness
Microgreens are a true superfood due to their high content of vitamins, minerals and other beneficial elements, such as:
Vitamins. Vitamin C, which is essential for the immune system and skin health, plays a major role in collagen synthesis and increases iron levels; B vitamins, including folic acid (B9) and vitamin B6, which support metabolism and the nervous system; Vitamin K, essential for healthy bones and blood.
Minerals. Calcium, iron, magnesium, potassium and other minerals needed to maintain healthy bones, muscles, heart and other organs.
High antioxidant content
Microgreens contain powerful antioxidants such as carotenoids (including beta-carotene) and flavonoids, which help protect cells from free radical damage. This helps slow down the aging process and reduce the risk of developing various diseases. It also supports vision and is good for the cardiovascular system.
High fiber content
The fiber in microgreens helps improve digestion, maintains intestinal health and lowers blood cholesterol. Controls appetite and is necessary in the diet of people who are struggling with excess weight.
Improving general condition and immunity
Regular consumption of microgreens can improve the overall health of the body, increase resistance to infections and improve the functioning of the immune system.
Ease of absorption
Young sprouts of microgreens are easily absorbed by the body due to their delicate structure, which allows you to quickly receive all the nutrients.
Variability of use
Microgreens can be added to a wide variety of dishes: salads, soups, sandwiches, side dishes, juices and green smoothies. It gives dishes a fresh taste and makes them more nutritious.
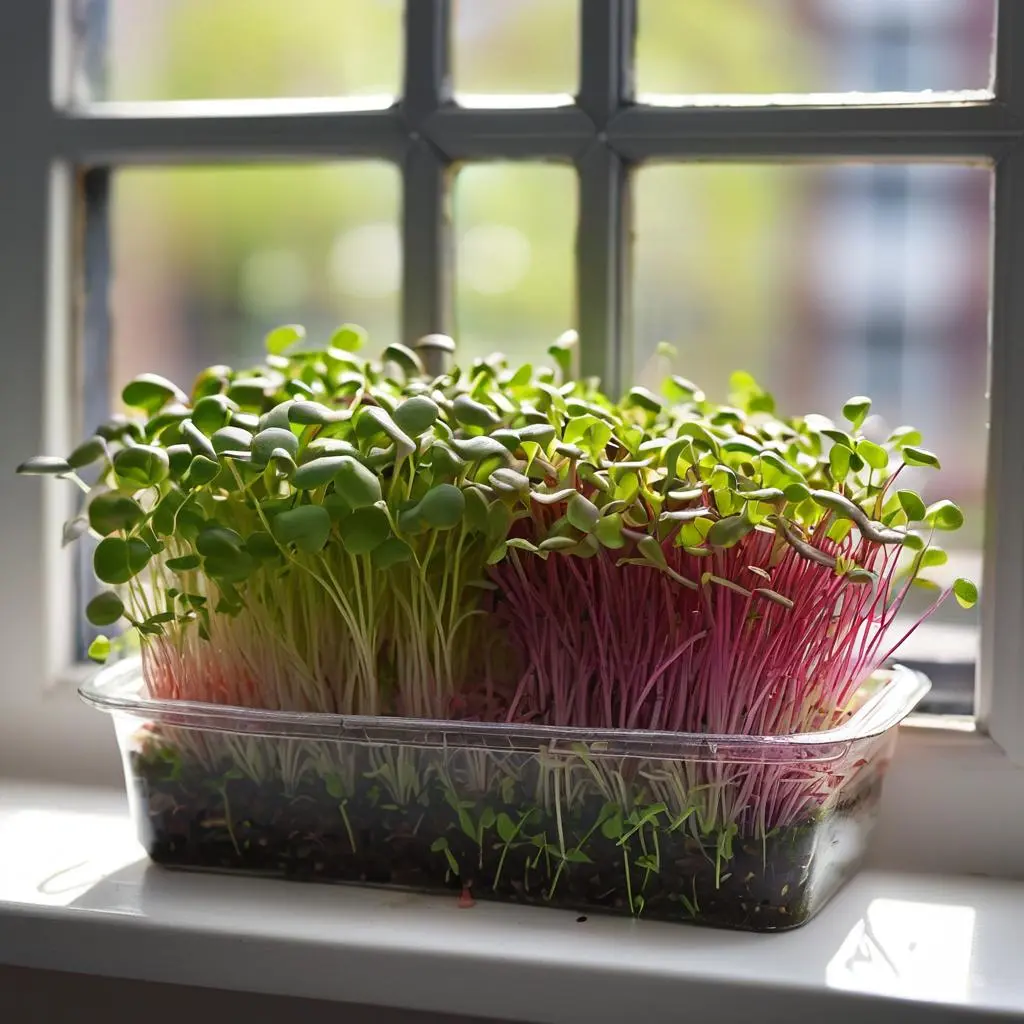
Microgreens are a great way to add nutrients to your diet without adding extra calories. It is easy to grow at home on a windowsill or in special containers, and fits perfectly into any lifestyle – from a vegan and healthy diet to a traditional diet. Growing microgreens on your windowsill is not only easy and fun, but it also allows you to get fresh and healthy food right in your home. This is also great entertainment that children will also enjoy.
So, how to grow microgreens on the windowsill:
Step 1: Preparing materials and tools
Before you start growing microgreens, you need to prepare the following materials and tools:
Microgreens seeds. Select the seeds of the plants you want to grow. Popular varieties for microgreens include parsley, basil, arugula, mustard, spinach and other greens. Also, if you have flax seeds lying around in your cupboard, you can use them too.
Soil or substrate. Use a specially suitable substrate for microgreens or an all-purpose soil for germinating seeds.
Containers. Plastic trays or trays with drainage holes are suitable for growing microgreens. You can also use specialized trays for microgreens. If you don’t want to bother too much, you can take disposable dishes, a cup of yogurt or sour cream, and make the holes yourself.
Water and a sprayer, which are necessary for watering and moistening the soil.
Step 2: Planting and Care Process
- Soil preparation. Fill containers with soil or substrate. Distribute the seeds evenly over the surface of the soil.
- Sowing seeds. Sprinkle the seeds in a thin layer over the surface and press them lightly into the soil with your hands.
- Hydration. Water the planted seeds with water from a spray bottle.
- Shelter. Cover the planted seeds with transparent film or glass to create a greenhouse effect – this promotes rapid germination.
- And of course Care. Keep the soil moist by misting it regularly with a spray bottle. Lighting is also important: microgreens need bright light, so place containers on a windowsill or under artificial light.
Step 3: Collection and Use
When the microgreens reach a height of about 5–7 centimeters and have two true leaves, they are ready to harvest. Carefully trim the microgreens with scissors at soil level. You can use it as a decoration and add it to various dishes: salads, sandwiches, soups and others.
There is also an alternative way of planting microgreens on cheesecloth – this is a convenient and economical method for growing greens at home. Here’s what you need for this:
Gauze or Newspapers: Choose natural gauze or unprinted newspapers to avoid contamination.
Plastic Container: Use plastic containers such as standard sprouting trays or other suitable containers.
The microgreens seeds themselves and water.
First prepare the container. Cut the cheesecloth or newspaper so that it fits snugly inside the container. The gauze should be slightly compressed to ensure optimal moisture. Then evenly distribute the microgreens seeds over the surface of the gauze so that the harvest is not only tasty, but also beautiful. Do not pile everything on top of each other, otherwise the seeds will have difficulty and take a long time to germinate. It is necessary to regularly spray the container with a moderate amount of water to keep the gauze moist. But don’t overwater, otherwise the seeds will rot and you won’t get a harvest.
Place the container with the sown seeds in a warm place to ensure good seed germination. It is important to avoid direct sunlight to prevent the gauze from drying out. After the seeds germinate and sprouts appear, continue to keep the cheesecloth moist. When the sprouts reach the desired height (usually after 7–10 days), they are ready to eat.
Advantages of planting on gauze
- Simplicity and availability: Cheesecloth is an affordable material that can be easily found and used to grow microgreens at home.
- Cost-effective: This method requires minimal equipment costs. Gauze can be reused, that is, you can then reuse the same gauze after each collection of microgreens.
- Humidity Control: Planting on cheesecloth allows you to control the humidity level, which promotes successful seed germination.
This method is ideal for growing soil-free microgreens at home and allows you to produce fresh, nutritious green leaves right in your home. You don’t have to have a balcony or a brightly lit windowsill to have a treasure trove of useful items on your desk every day.
Growing microgreens on a windowsill is a simple and fun process that allows you to get healthy and fresh food right at home. It is rich in nutrients and is ideal for those seeking a healthy lifestyle. Try growing your own microgreens and enjoy their taste and health benefits!